Help Center
Step-by-step guides for creating product photos, ads, and videos
Getting Started
Instapics organizes all of your product photos, ad creatives, and videos into Ad Groups. Each Ad Group represents a single product or variation and contains everything the AI generates for it.
Create an Ad Group
Click New Ad Group to begin. Enter your product name/title along with a short but informative description. Instapics uses this information to understand what your product is, perform marketing and advertising research, and generate more accurate creative concepts.
For best results, include as many meaningful details as possible — such as materials, size, color options, key features, benefits, use cases, target audience, and what makes your product unique. The richer the information you provide, the better the AI can tailor scenes, messaging, and design ideas for you.
Set Your Brand Colors
Choose Primary, Secondary, and Accent brand colors. These guide the AI’s design choices.
Edit Your Ad Group Anytime
Click the Edit button on an Ad Group card to update its details.
Create Photos, Ads, and Videos
After creating an Ad Group, open it to generate photos, ad creatives, and videos. Everything stays organized inside that group.
Revise Photos & Ads Anytime
Click Revise on any creative to update the text, adjust the scene, or request design tweaks.
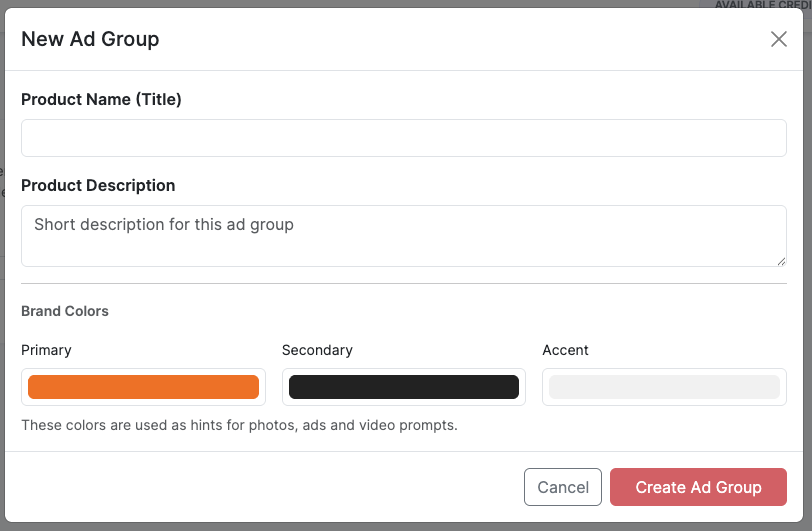
Photo Studio
Learn how to create Main, Spotlight, Lifestyle, and Branding images.
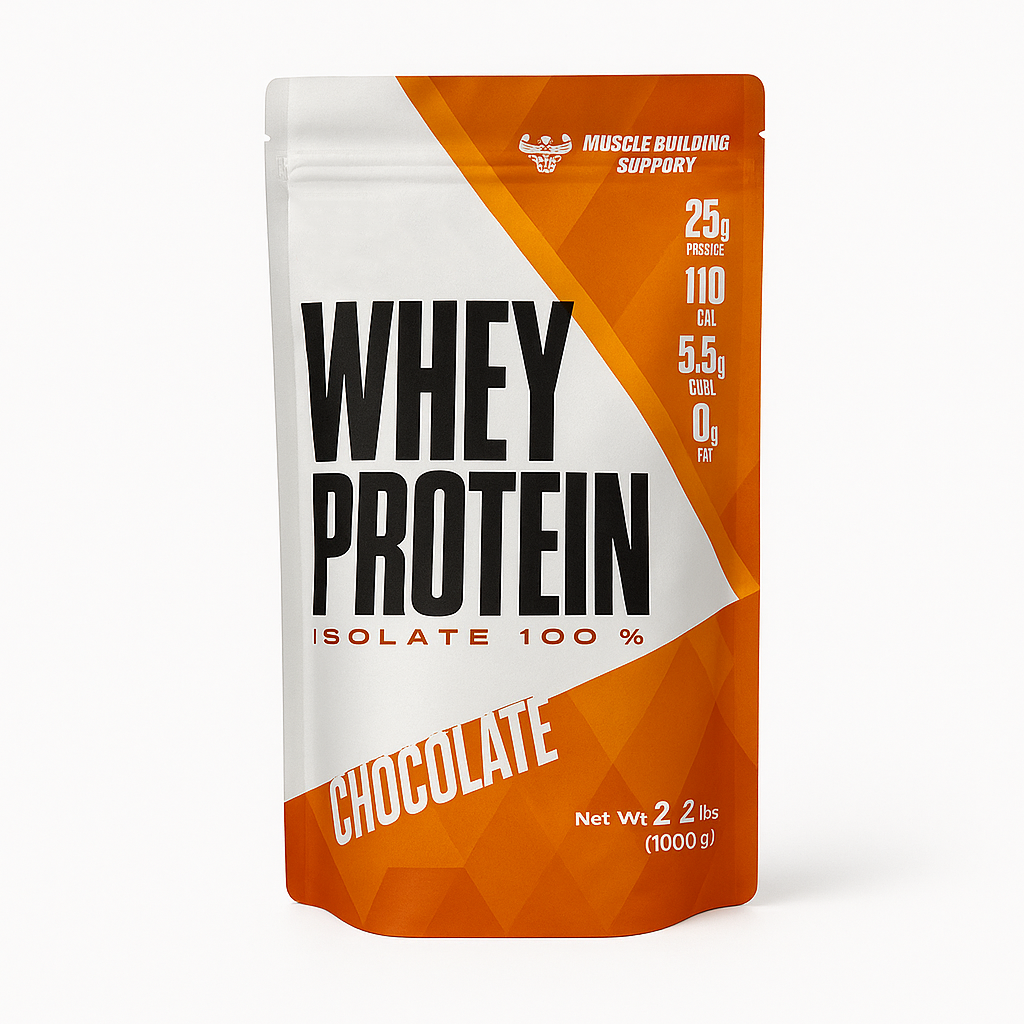
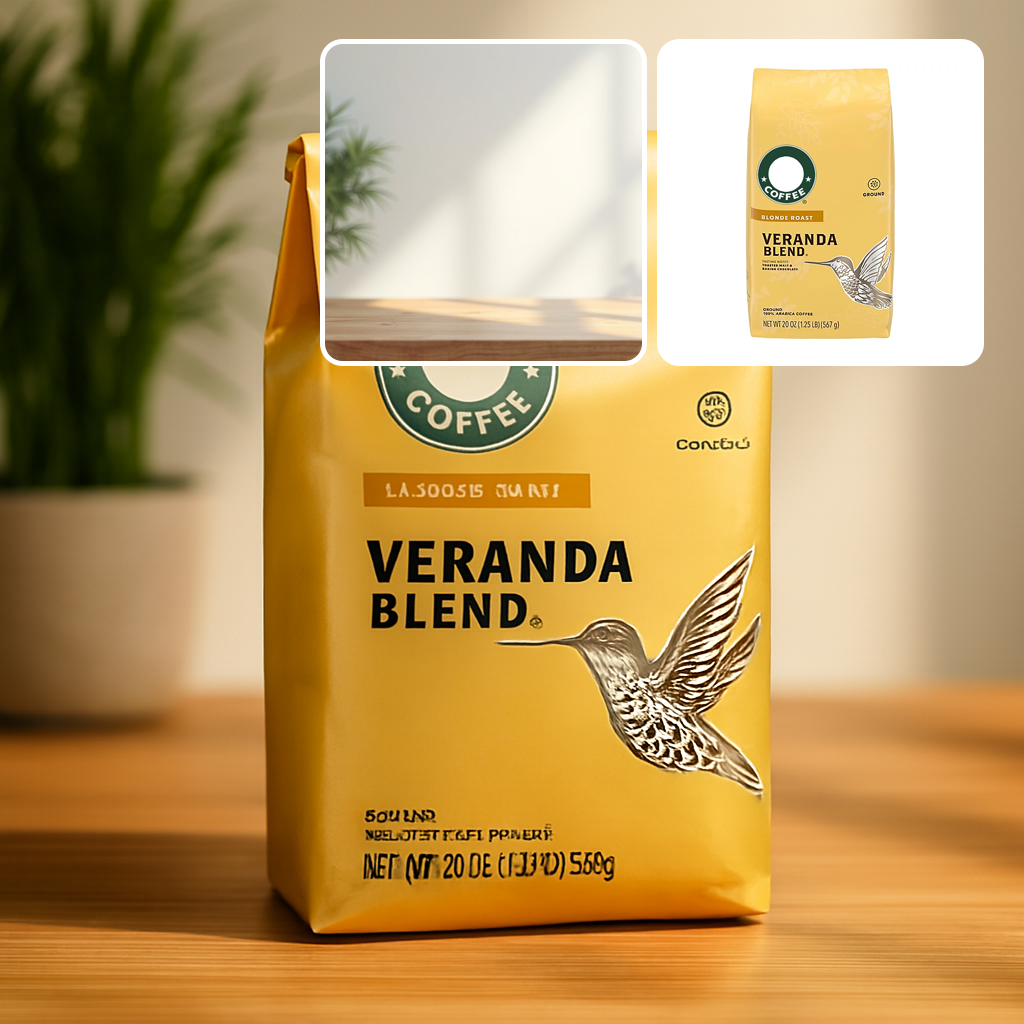
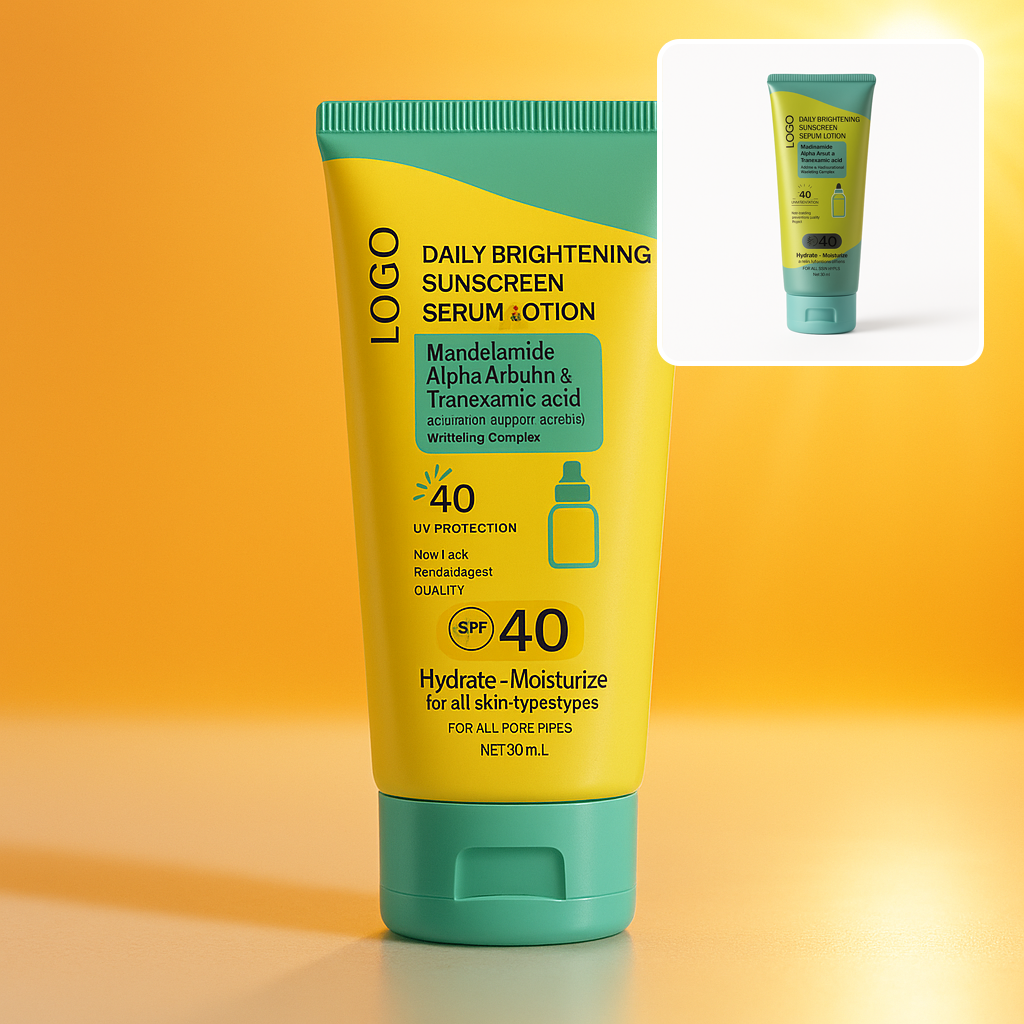
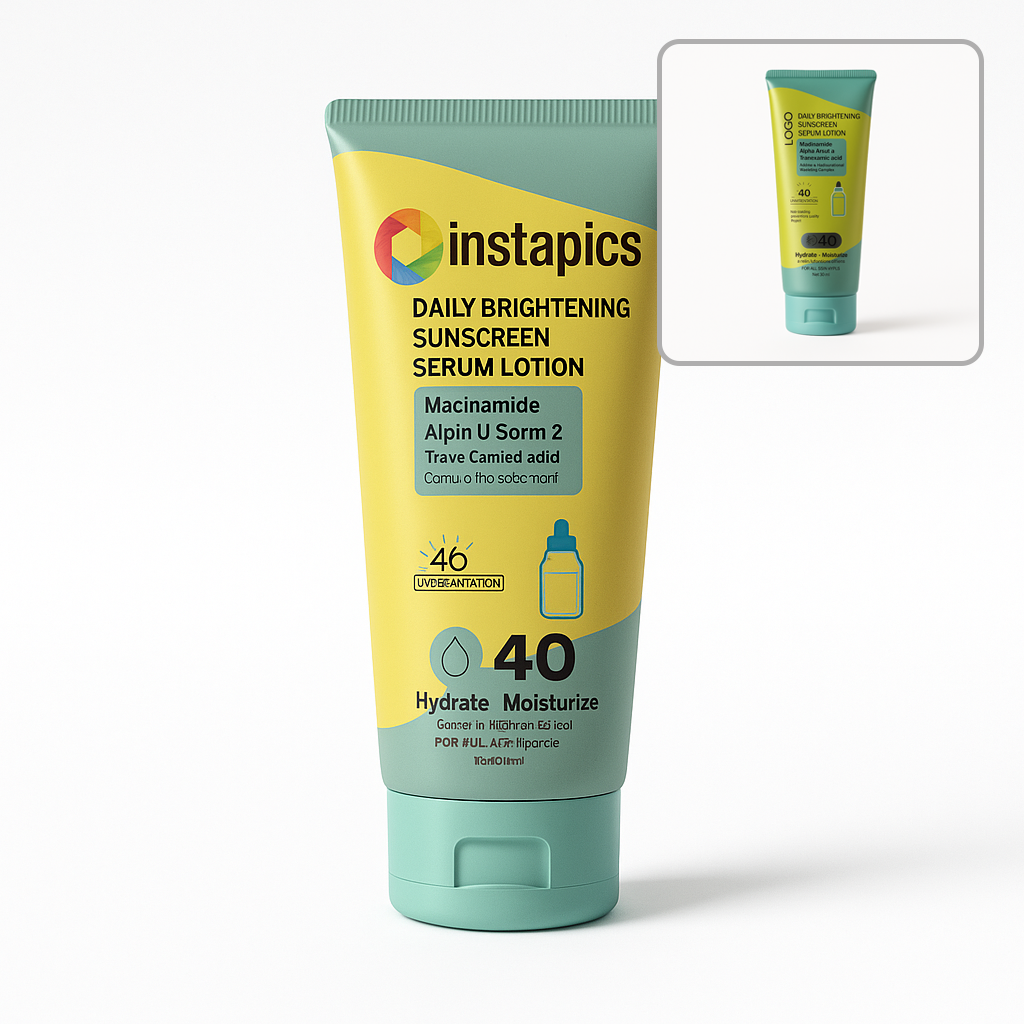
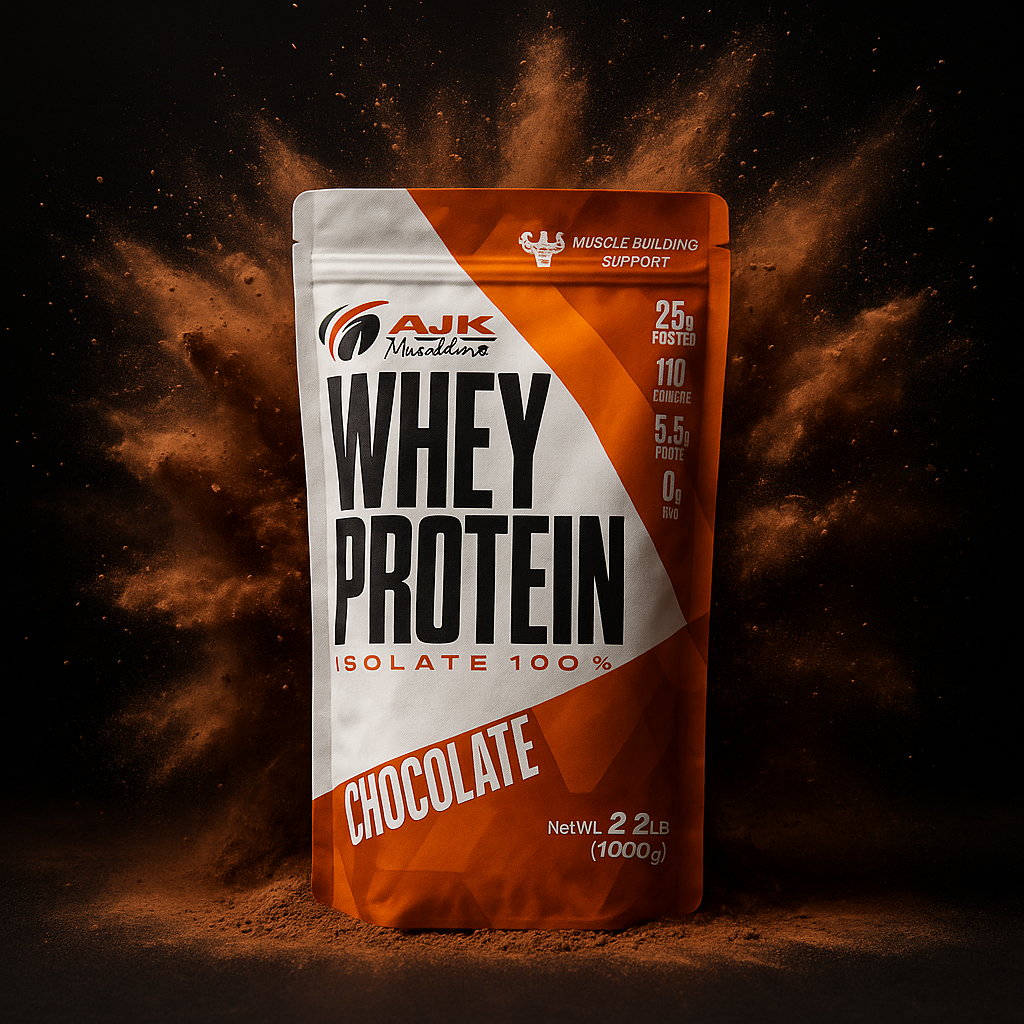
Creating Main Images
Main images are clean, high-contrast product photos designed for Amazon and e-commerce listings. They focus on clarity, accuracy, and visual consistency across your catalog.
Upload Your Product Image
Upload a clean product photo. The product will be automatically cut out and the background removed. For the best results, the photo should only contain your product with no clutter.
Select “Main”
Choose the Main option in the Photo Type options panel.
Choose a Background Color
Use the preset palette or select a custom color for precise brand matching.
Select Your Aspect Ratio
Select the aspect ratio that best fits Amazon, Shopify, or platform-specific requirements.
Generate Your Photo
Click Generate Photo to produce your final Main image.
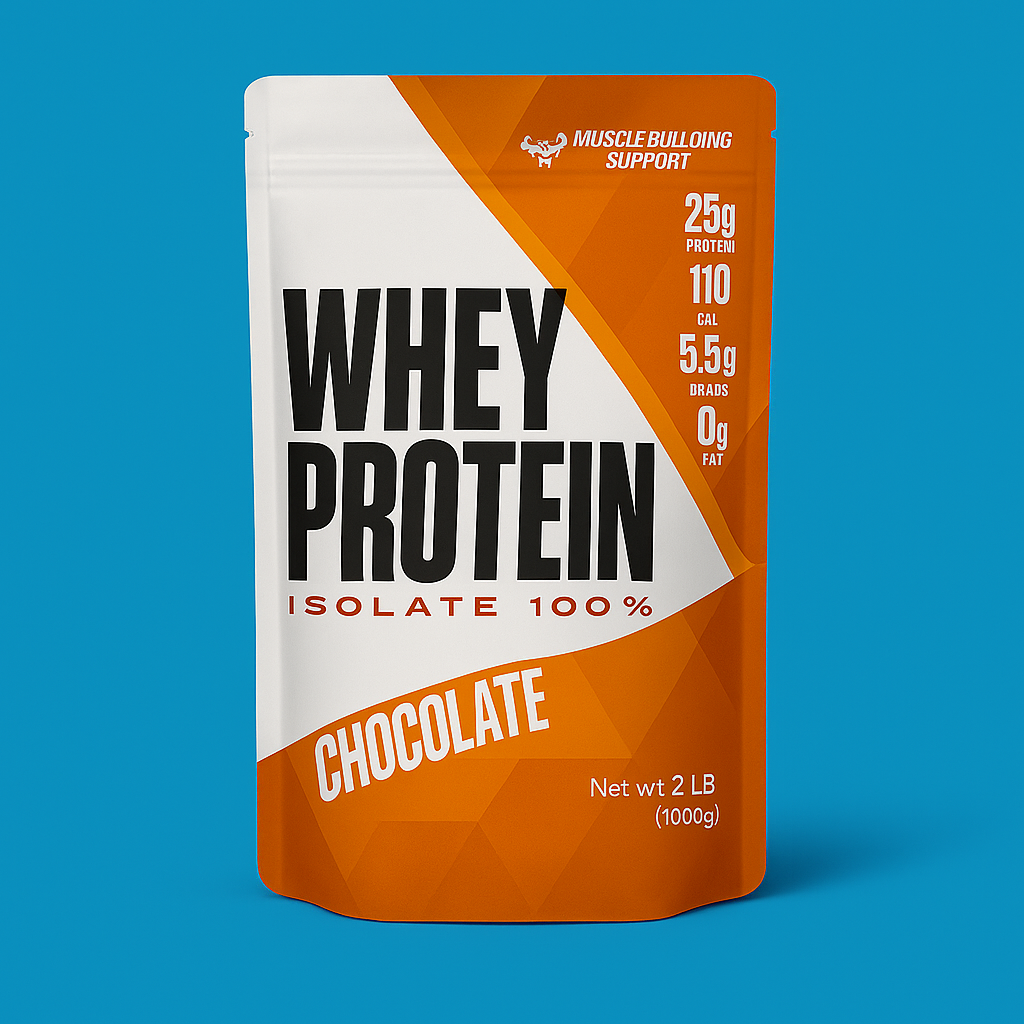

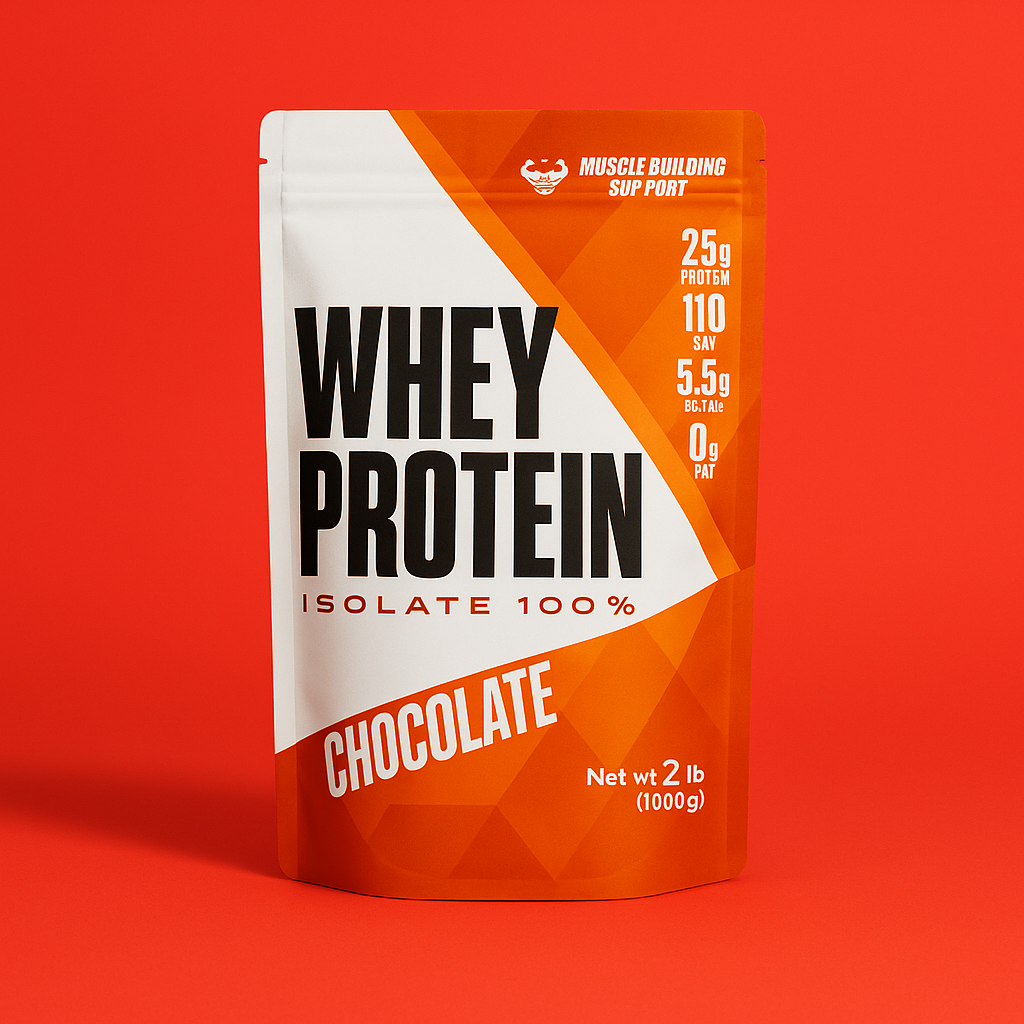
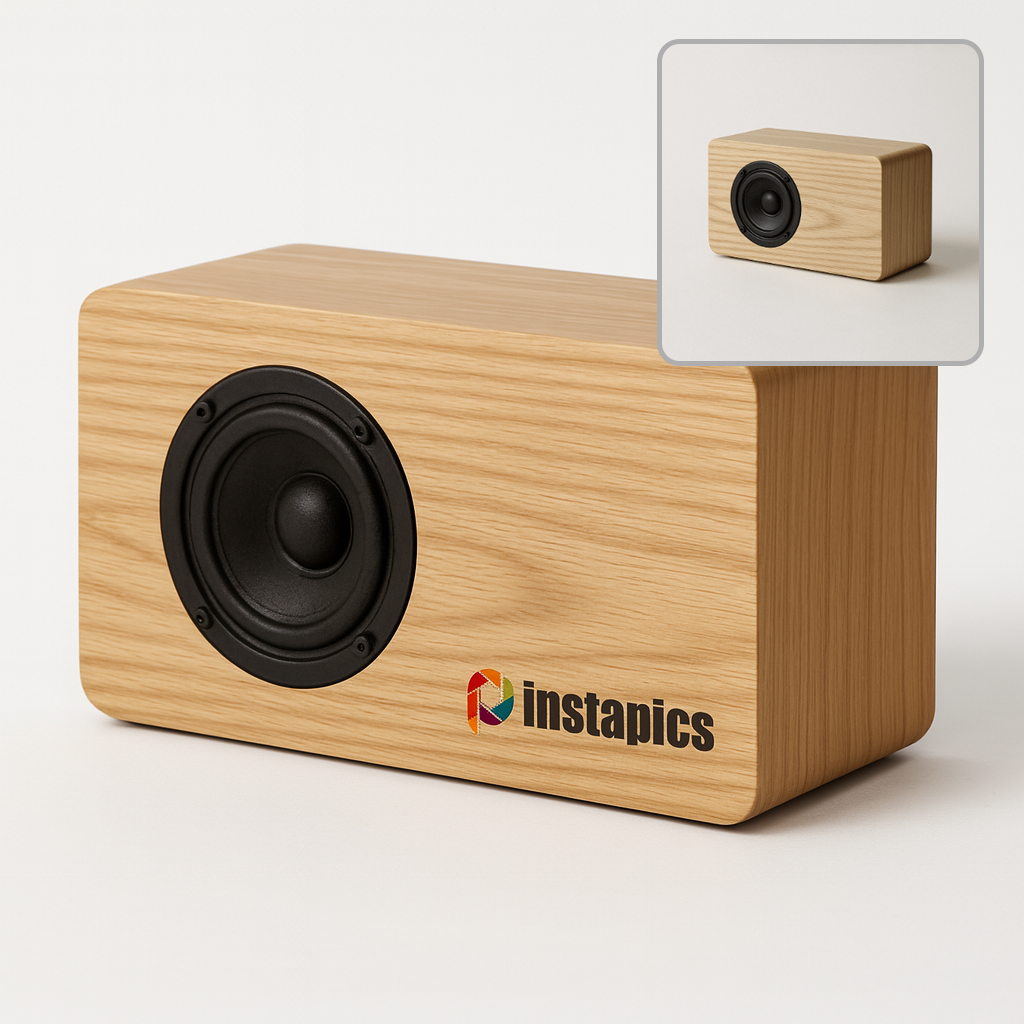
Creating Spotlight Images
Spotlight images use curated templates or custom prompts to produce clean, studio-quality results.
Option 1 — Upload a Reference Image
Upload Your Product
Upload a clean product photo. The product will be automatically cut out and the background removed. For the best results, the photo should only contain your product with no clutter.
Select “Spotlight”
Choose the Spotlight option on Photo Type panel.
Choose a Reference Image
Choose from the curated studio backgrounds or upload your own.
Generate Your Photo
Click Generate Photo to create your Spotlight image.
BONUS TIP Try generating multiple images with the same or similar settings to produce different results and variations.

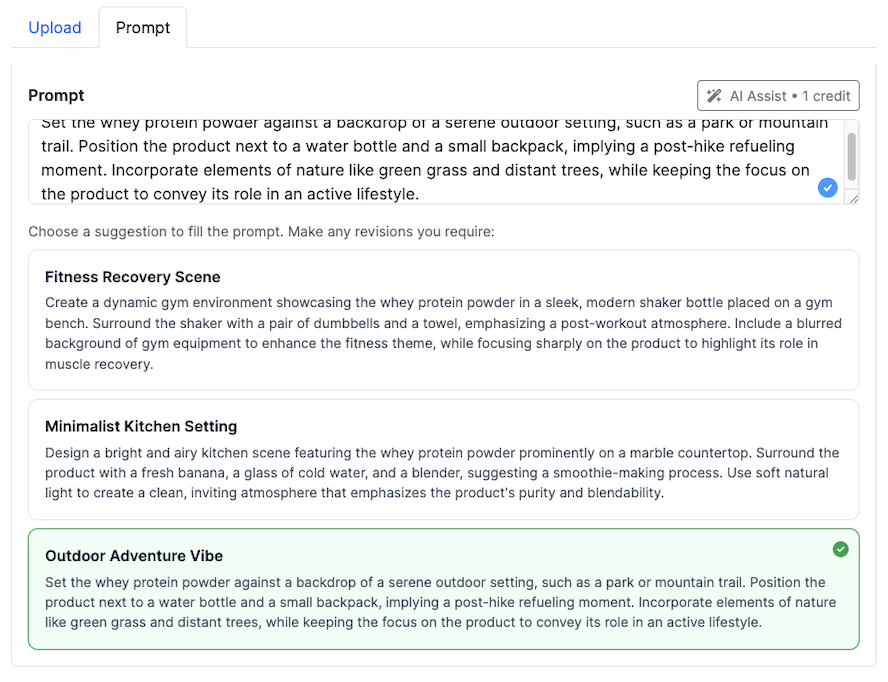
Option 2 — Use a Prompt
Select “Prompt”
Switch to the Prompt tab under Spotlight.
Describe the Background
Enter a scene description for the environment you want.
Use AI Assist (Optional)
AI Assist can suggest a prompt for best results.
Generate Your Photo
Click Generate Photo to create your Spotlight image.
BONUS TIP Try generating multiple images with the same or similar settings to produce different results and variations.
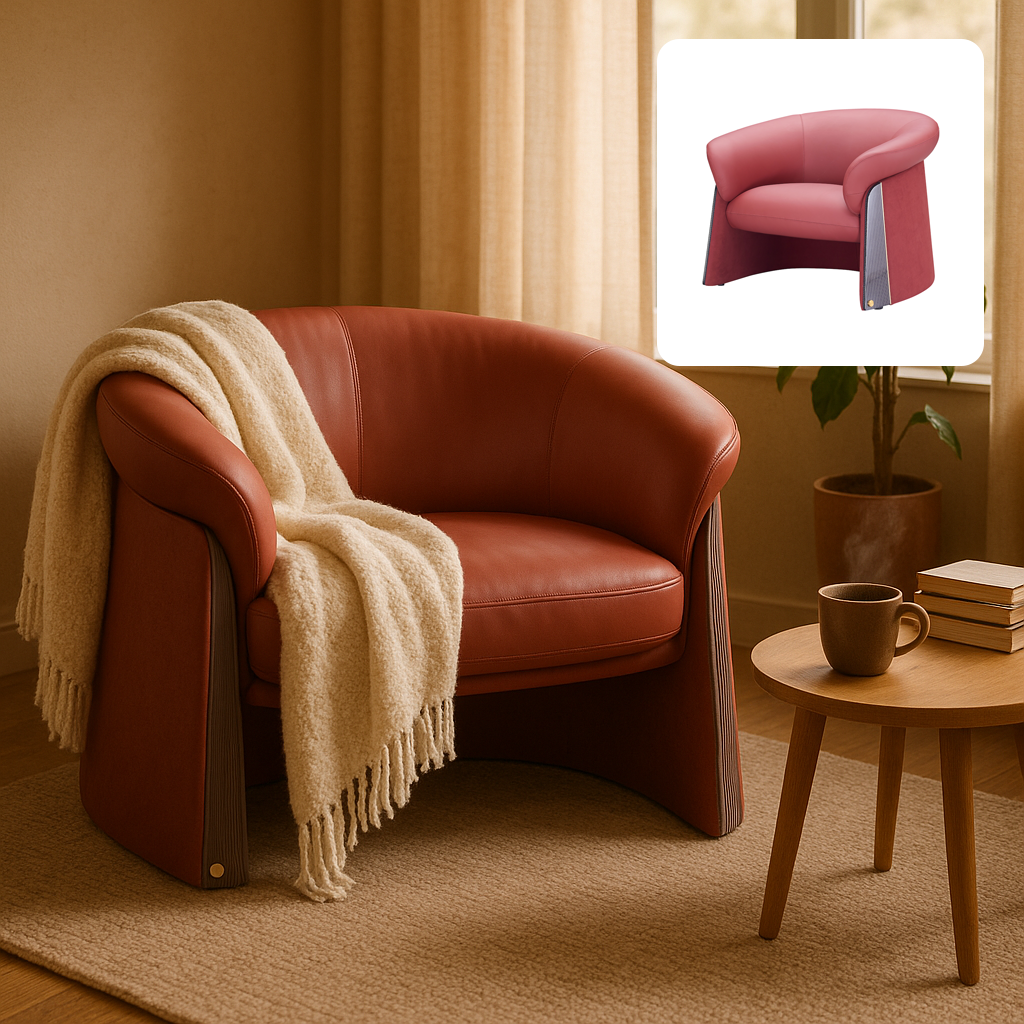
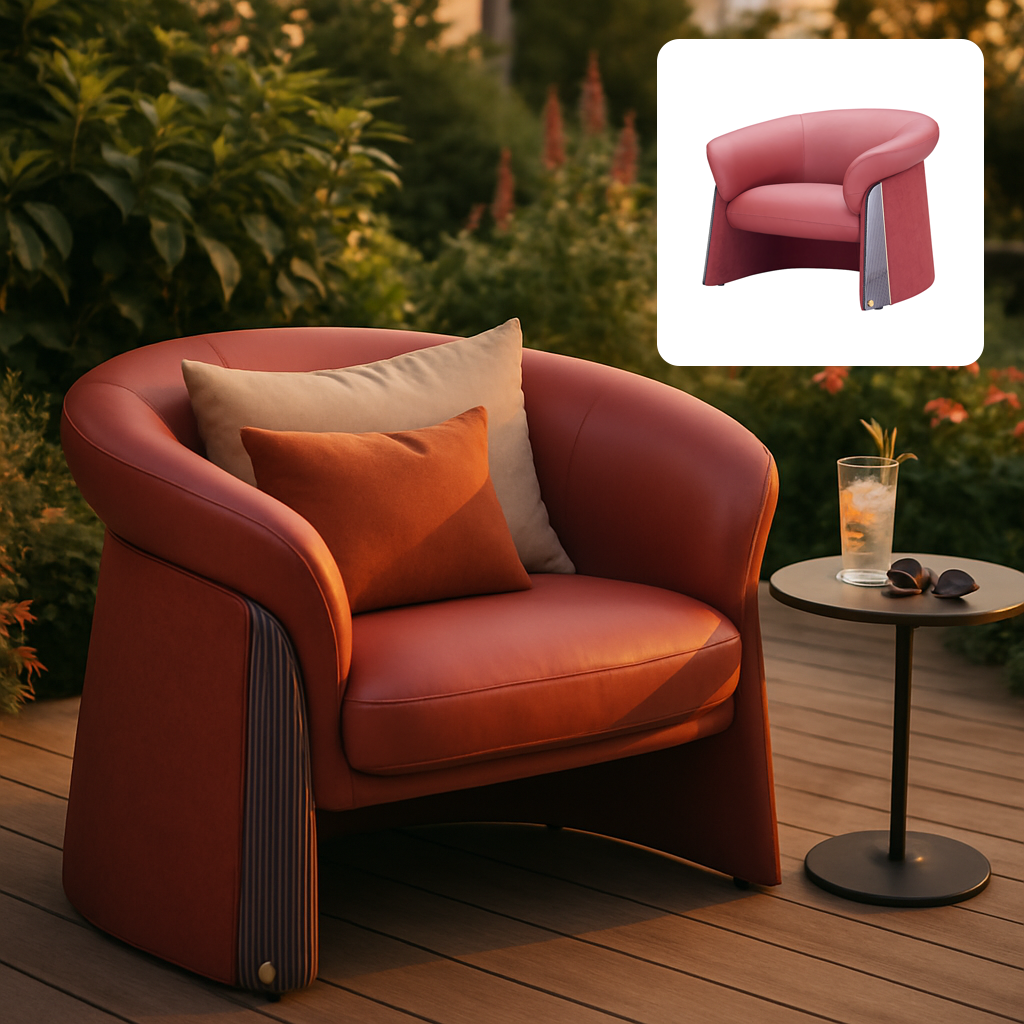
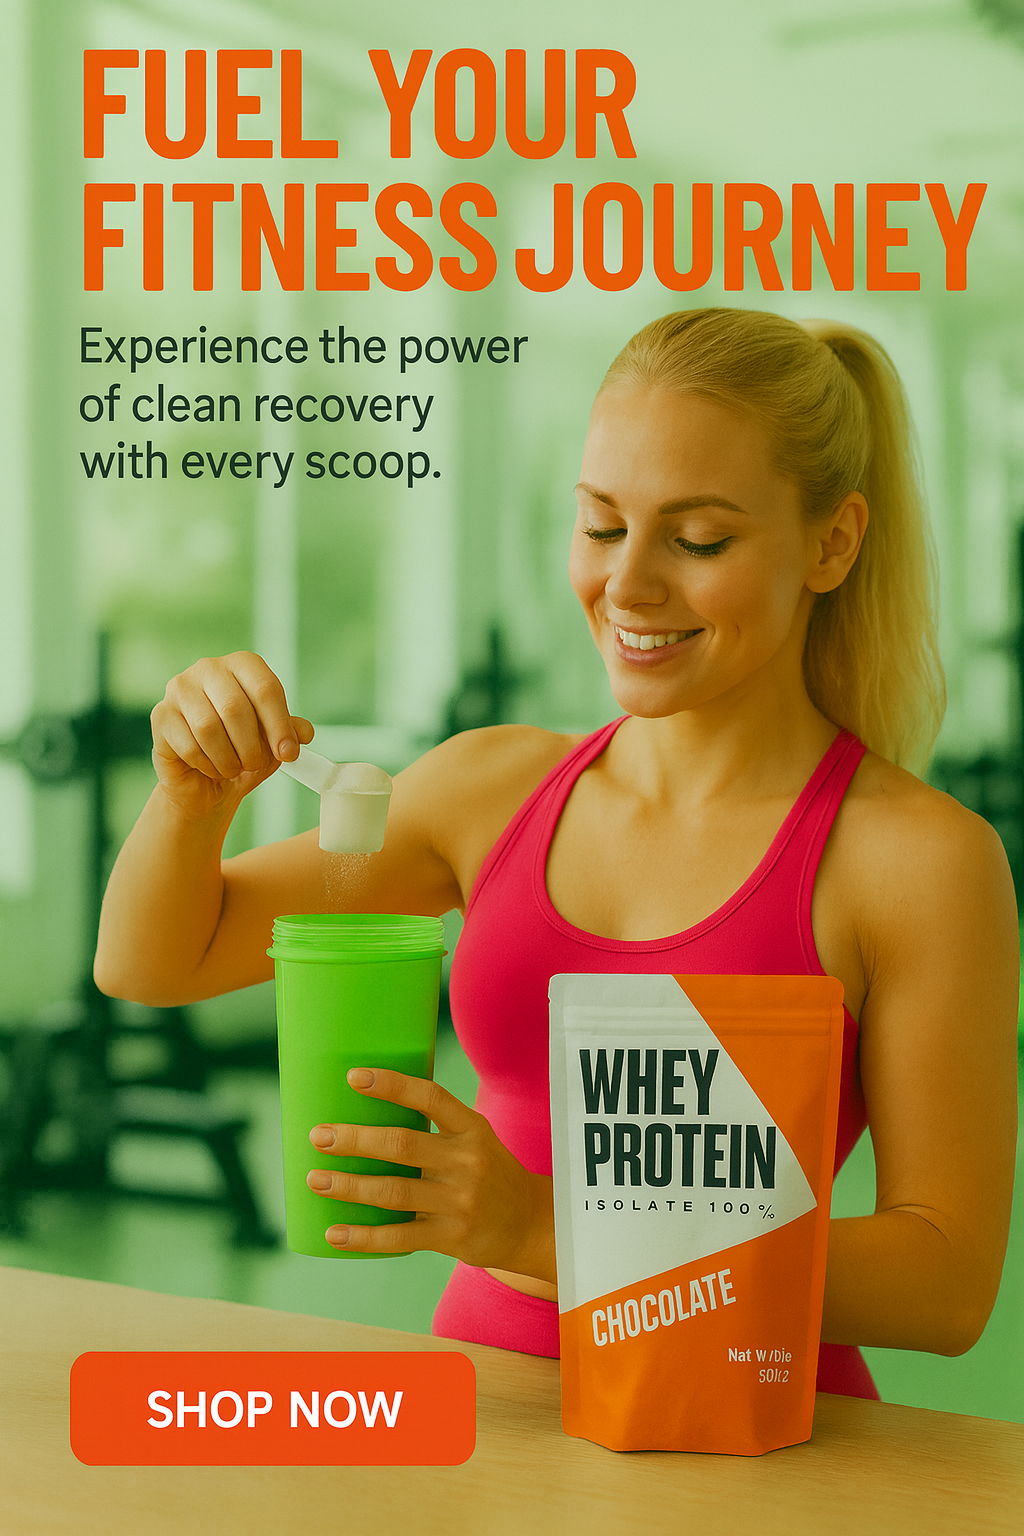
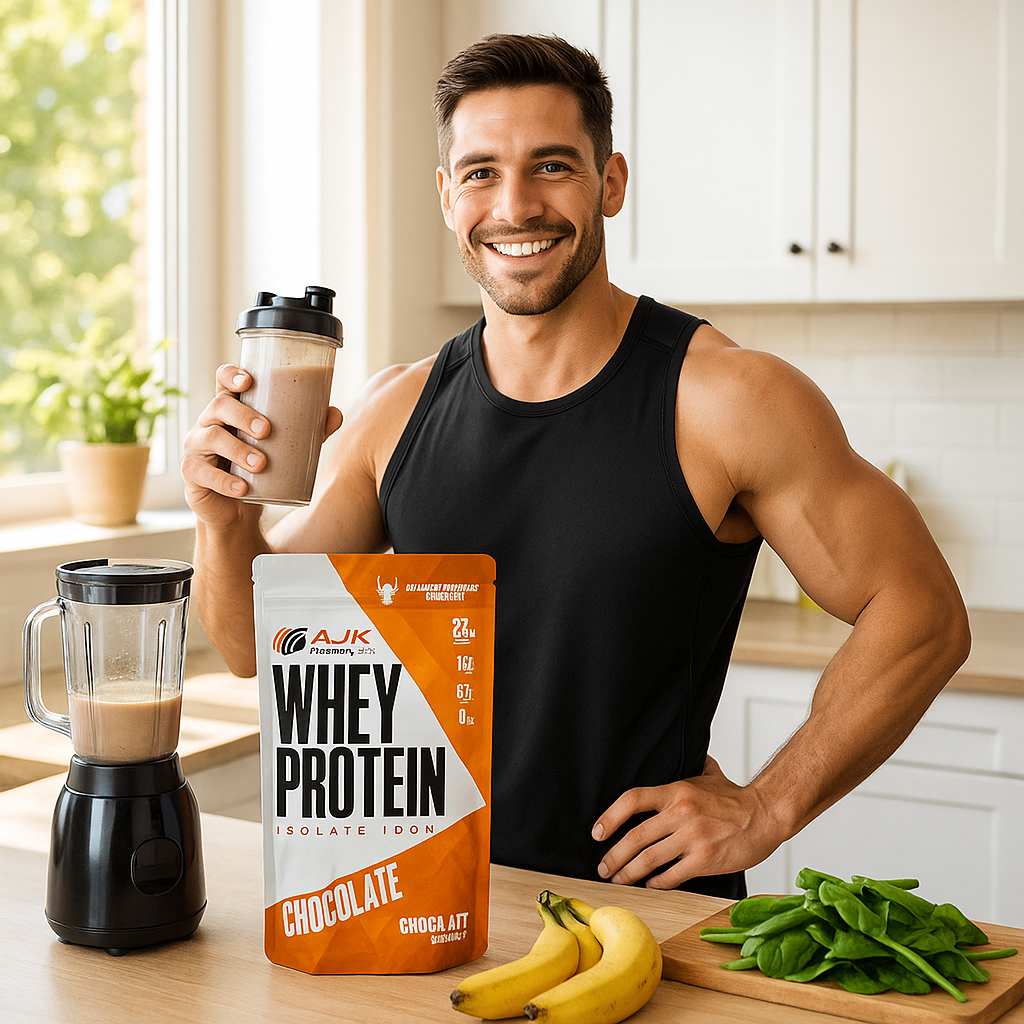
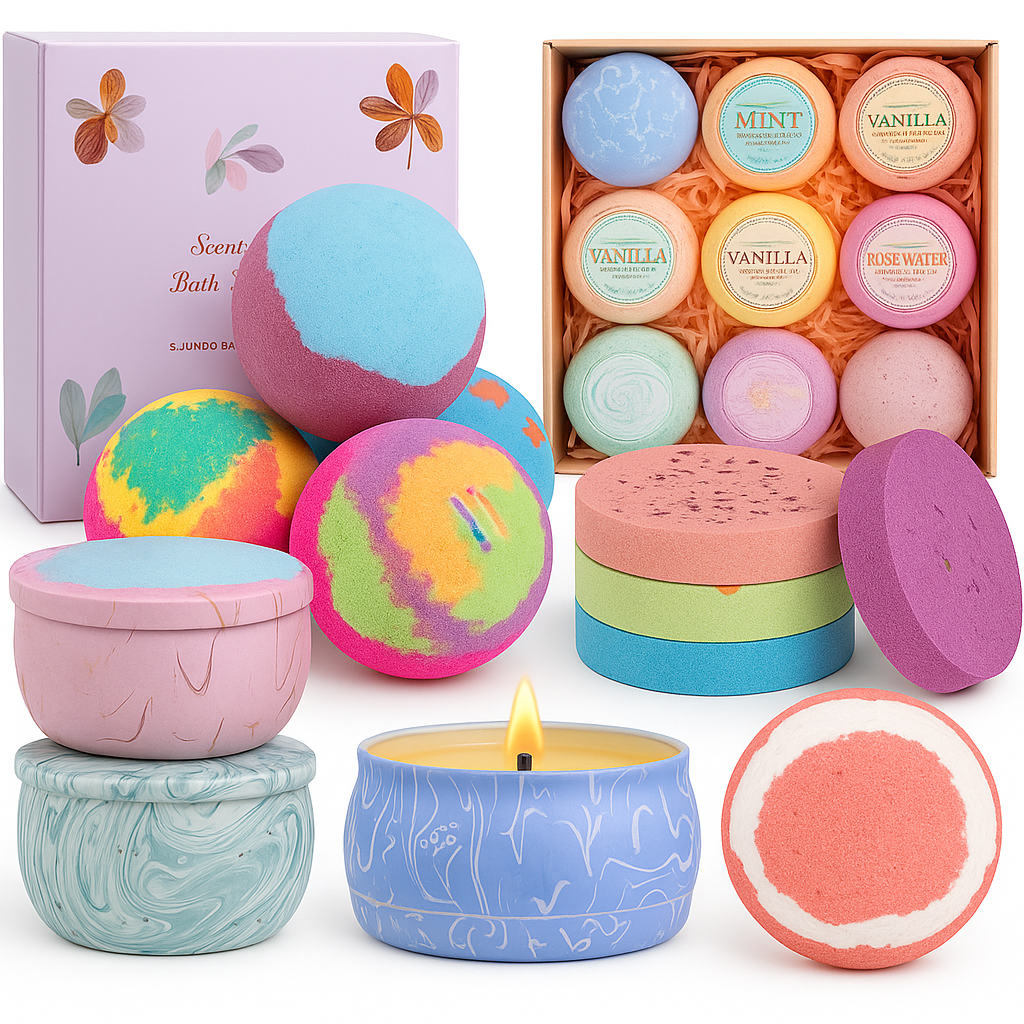
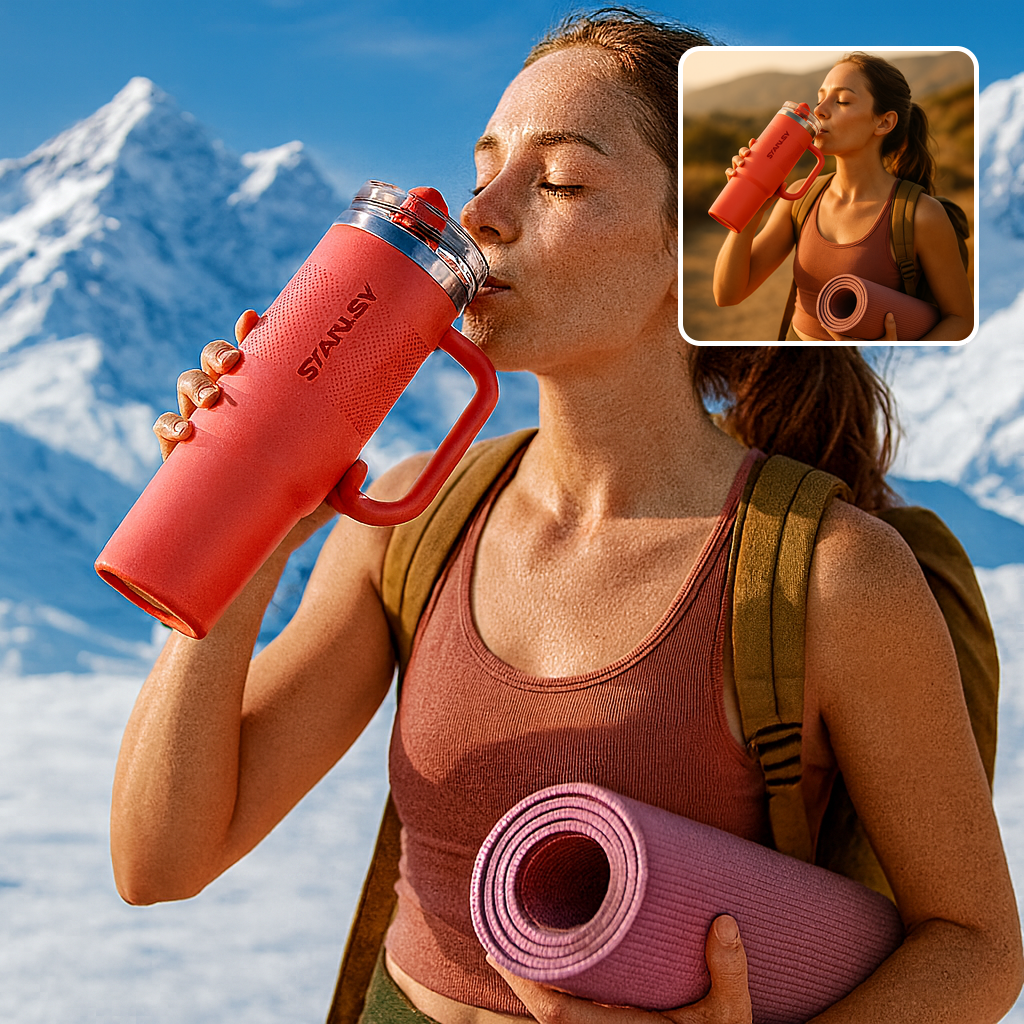
Creating Lifestyle Images
Lifestyle images place your product in natural, real-world scenes for emotional appeal and relatability.
Option 1 — Upload a Reference Image
Upload Your Product
Upload a clean product photo. The product will be automatically cut out and the background removed. For the best results, the photo should only contain your product with no clutter.
Select “Lifestyle”
Choose Lifestyle from the Photo Type options.
Upload a Lifestyle Scene
Provide a reference environment for the AI to recreate.
Generate Your Photo
Click Generate Photo to create your lifestyle scene.
BONUS TIP Try generating multiple images with the same or similar settings to produce different results and variations.


Option 2 — Use a Prompt
Select “Prompt”
Switch to the Prompt tab.
Describe the Scene
Use natural language to describe the environment you want.
Use AI Assist (Optional)
AI Assist can help suggest a prompt for best results.
Generate Your Photo
Click Generate Photo to create your lifestyle image.
BONUS TIP Try generating multiple images with the same or similar settings to produce different results and variations.
Creating Branding Images
Upload Your Product Image
Upload a clean product photo. The product will be automatically cut out and the background removed. For the best results, the photo should only contain your product with no clutter.
Select “Branding”
Choose the Branding on the Photo Type panel.
Upload Your Logo
PNG format recommended for best results.
Describe Logo Placement
Explain the size, location, and how the logo should appear.
Generate Your Photo
Click Generate Photo to produce your branded image.
BONUS TIP Try generating multiple images with the same or similar settings to produce different results and variations.
Ads Studio
Learn how to ads creatives.
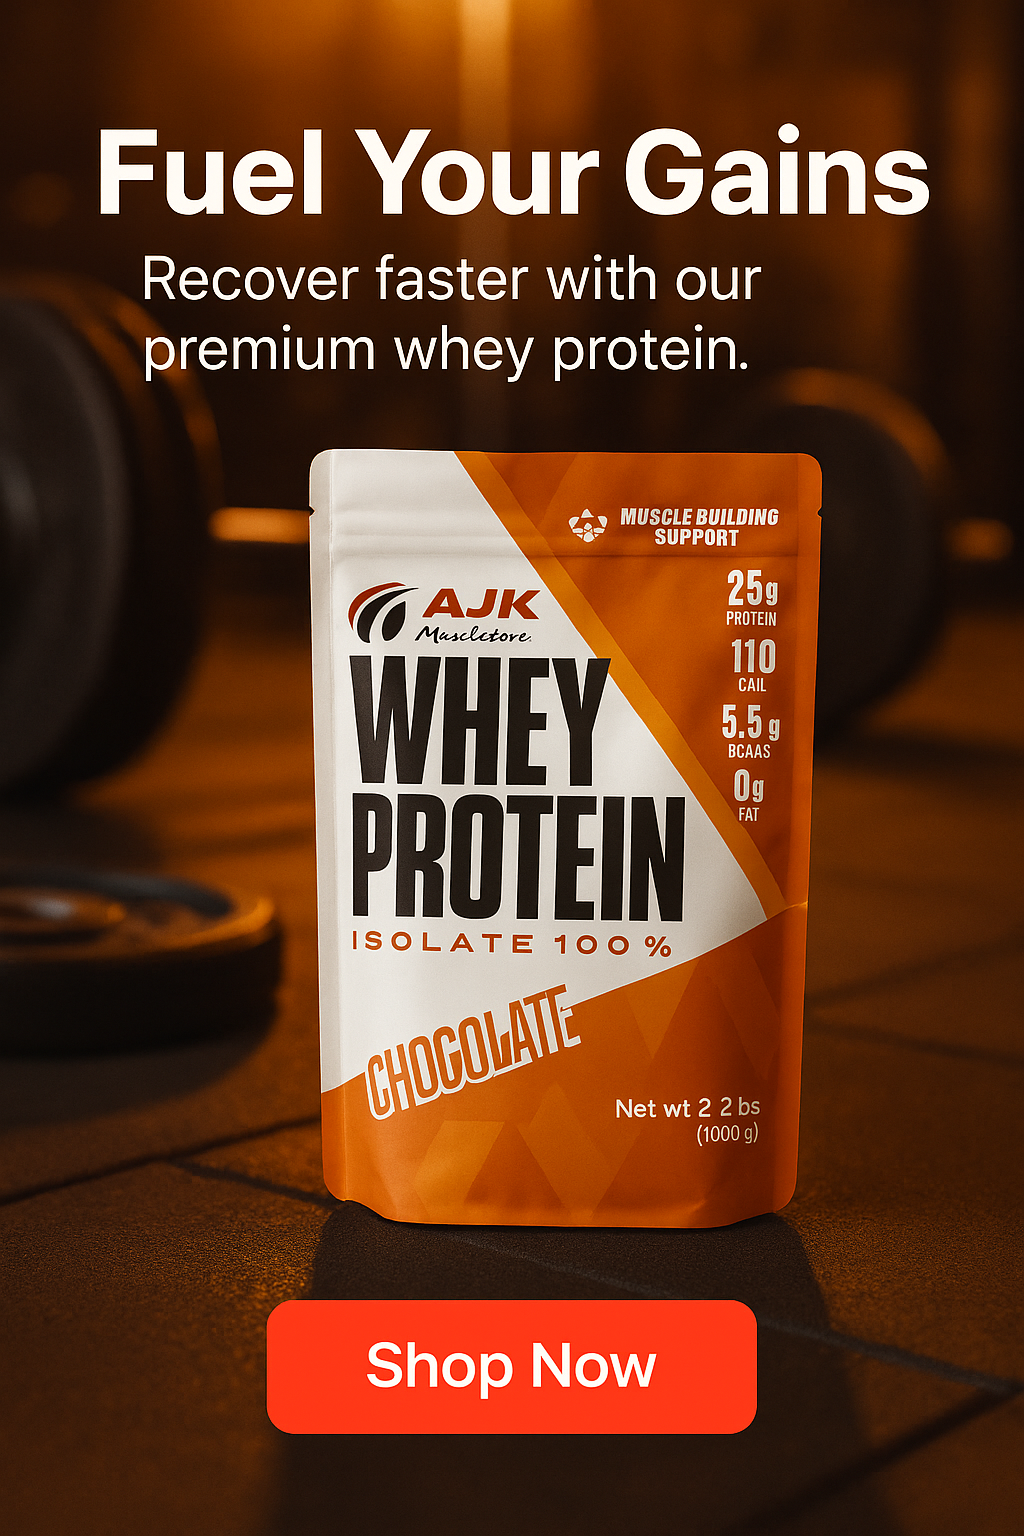
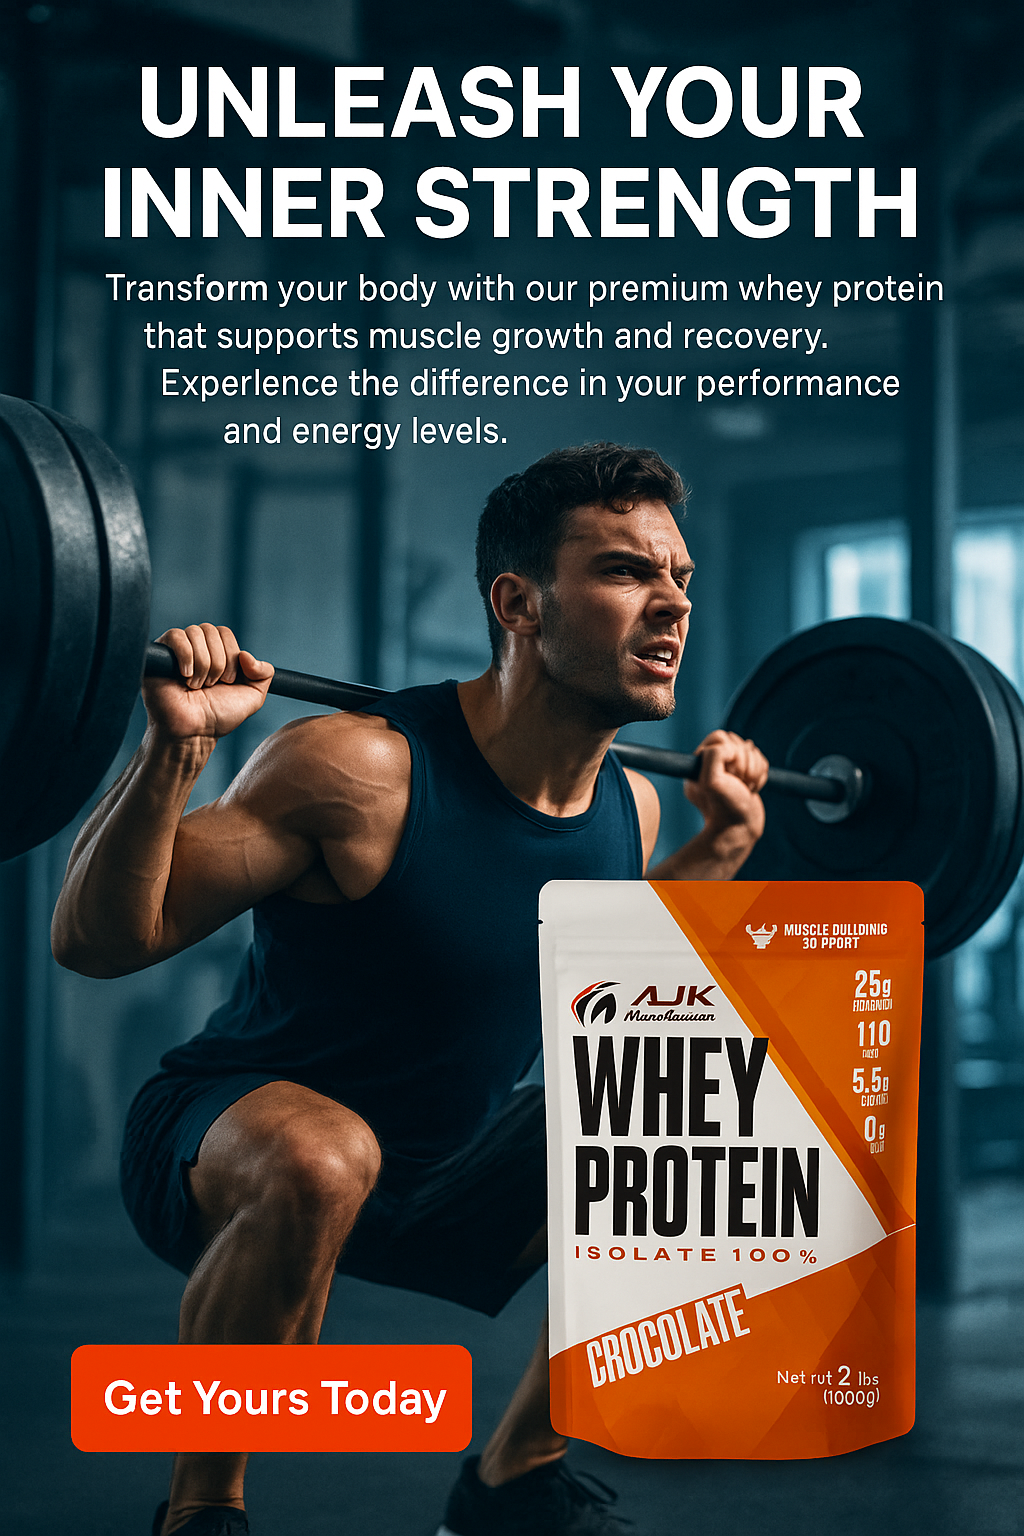
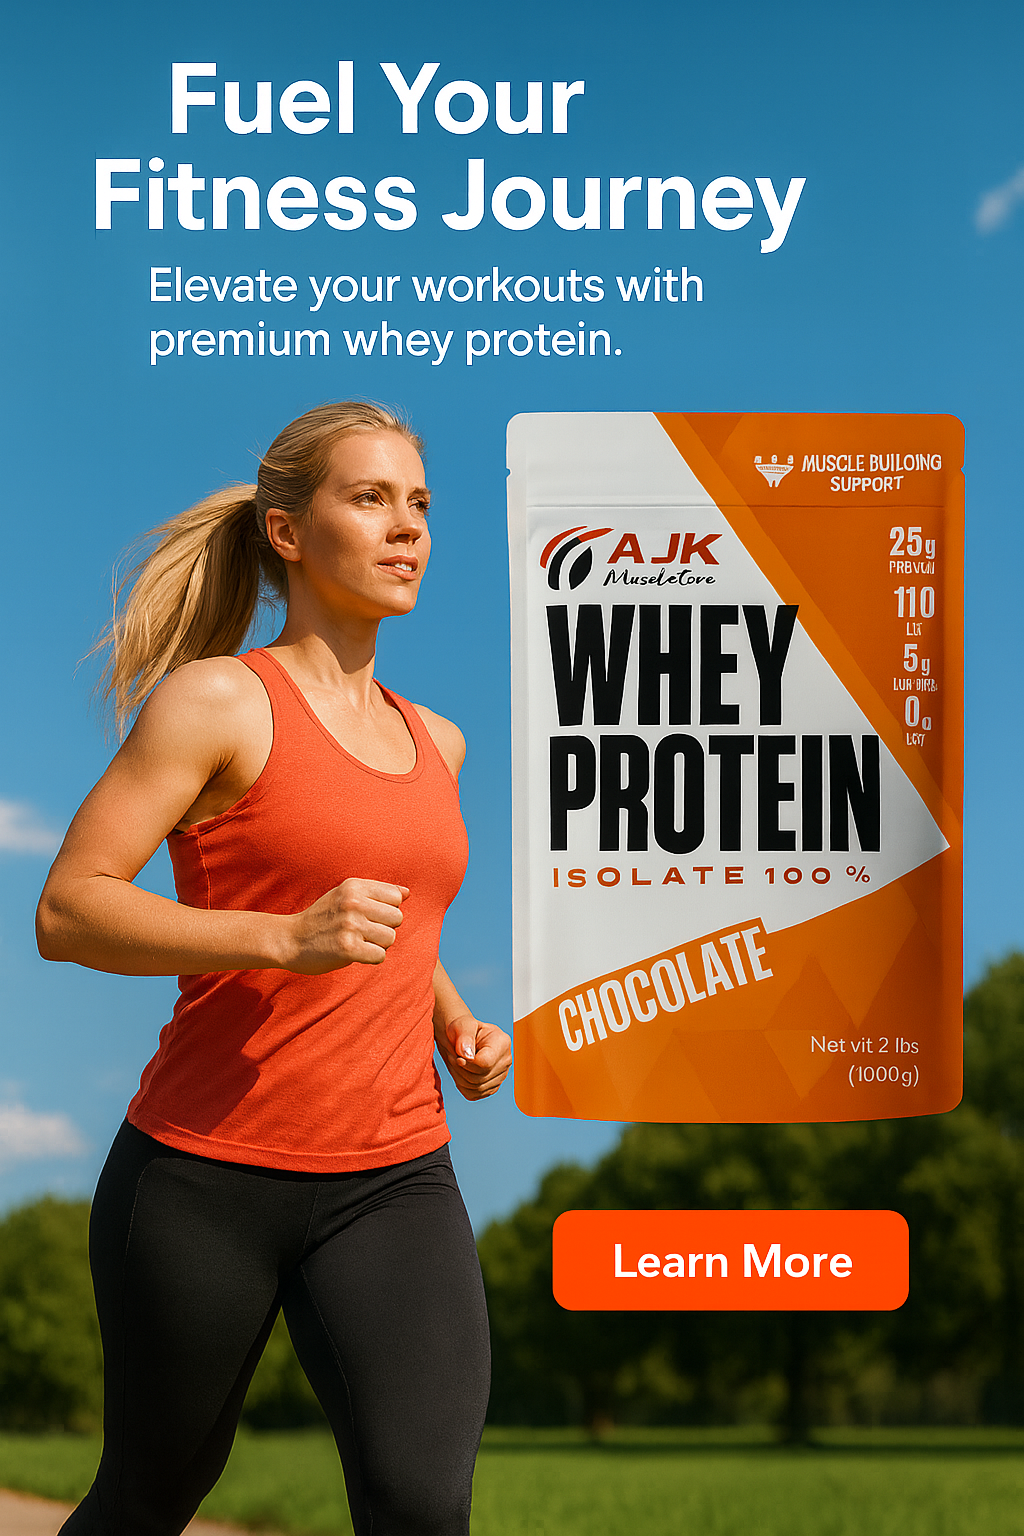
Creating Ad Creatives
Ad creatives combine your product image, copy, scene description, design notes, and brand colors to produce high-quality marketing visuals.
Upload Your Product Image
Upload a clean product photo. The product will be automatically cut out and the background removed. For the best results, the photo should only contain your product with no clutter.
Write Your Ad Copy
Write the headline, body text, and call-to-action. Use AI Assist if needed.
Describe the Composition
Describe the enivornment, lighting, camera angle, props, or mood.
Add Design Notes
Specify typography, ad copy placement, layout, or color theme.
Use AI Assist (Optional)
AI Assist can design the ad creatives, suggest ad copy, placent and composition.
Choose Brand Colors
Select primary, secondary, and accent brand colors.
Choose Image Size
Select portrait, square, or landscape
Generate Your Ad
Click Generate Ad to generate the ad creative.
BONUS TIP Try generating multiple images with the same or similar settings to produce different results and variations.
Video Studio
Create animated product videos using AI motion and scene generation.
Creating Image to Video Animations
Upload Your Product Image
Upload the product photo to animate.
Select “Image to Video”
Choose the Image to Video mode
Choose a Camera Movement
Select Push In, Push Out, Dolly, or Orbit (optional).
Select Aspect Ratio
Choose the video format best suited for your platform.
Choose the Video Length
Choose the duration of the video to generate.
Generate Your Video
Click Generate Video to create your animation.
BONUS TIP Try generating multiple videos with the same or similar settings to produce different results and variations.

Creating Product to Video Animations
Upload Your Product Image
Upload the product photo to animate.
Select “Product to Video”
Use this mode to produce a full cinematic environment.
Describe the Scene
Write a prompt describing motion, lighting, and environment.
Use AI Assist (Optional)
AI Assist can suggest a prompt for the best results.
Select Aspect Ratio
Choose the video format best suited for your platform.
Choose the Video Length
Choose the duration of the video to generate.
Generate Your Video
Click Generate Video to create your animation.
BONUS TIP Try generating multiple videos with the same or similar settings to produce different results and variations.
Templates & Prompts – Best Practices
Instapics AI understands natural language and adapts to your creative intent. There are two ways to generate backgrounds and scenes for your product photos, ads, and videos.
Templates
Templates allow you to place your product onto an existing background scene with no prompting required. Simply choose a template from the library or upload your own background image. Instapics AI will automatically position your product into the scene while matching lighting, shadows, and perspective.
If the template contains another product in the background, Instapics AI will replace that product with your product image while keeping the rest of the scene intact.
Try generating multiple images with the same or similar settings to produce different results and variations.
Prompts
Prompts give you full creative freedom. Describe the environment, lighting, mood, or props — from simple instructions to highly detailed scenes. The more descriptive your prompt, the more control you have over the final composition.
Try generating multiple images with the same or similar settings to produce different results and variations.
Simple Prompt Examples
Descriptive Prompt Examples
Whether simple or descriptive, your prompt should communicate the mood and setting you want. Instapics AI will build the scene, match your product to it, and deliver a clean, polished final image.

AI Assist
AI Assist helps you generate stronger, more effective photos, ads, and videos by providing creative recommendations. Using your product name and description, AI Assist performs advertising and marketing research in the background and suggests multiple scene ideas, compositions, copy options, and design directions.
Use AI Assist whenever you want inspiration, quick concepts, or a professional starting point. Simply review the suggested ideas and choose the one that best fits your creative vision. You can edit or modify the AI Assist suggestions to fully customize and tailor the final image results.
Try generating multiple images, ads or videos with the same or similar AI Assist suggestions to produce different results and variations.
Making Revisions
After generating a photo or ad creative, you can refine it using the Revise feature. Revisions allow you to update text, adjust the scene, introduce new props or actors, modify lighting, and more — all without recreating the entire image from scratch.
Instapics AI analyzes your revision instructions and applies the smallest, most accurate changes needed to achieve your desired outcome. You may choose to preserve the original composition or allow the AI to rework the layout based on your revision notes.
You can revise nearly every part of your creative. This includes changing the scene with a new background or location, adding or removing props, modifying actors or hands, adjusting lighting or mood, fine-tuning composition, editing ad text, or applying stylistic changes such as color tone or contrast. Simply describe what you'd like adjusted, and Instapics AI will update the creative while preserving product identity and quality.
Try generating multiple images with the same or similar settings to produce different results and variations.
Revision prompts can be short or detailed — the key is to describe what you want changed. Instapics AI will update the existing creative while keeping the product identity, quality, and overall visual consistency intact.
Scene Revision Examples
Props & Object Revision Examples
Actors & Models Revision Examples
Lighting & Mood Revision Examples
Frequently Asked Questions
Contact & Support
- Email us at support@instapics.ai
- Include your account email
- Include examples and screenshots if reporting issues